 Save
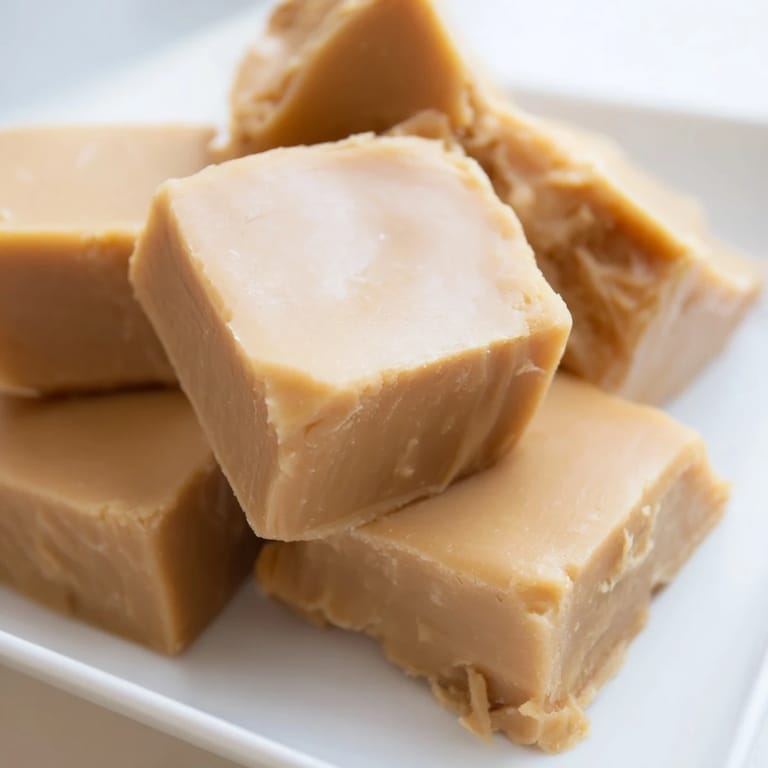
Save My cousin brought a tin of homemade fudge to a family potluck one December, and I watched it disappear in minutes. She whispered the recipe to me in the kitchen while we washed dishes, swearing it was the easiest thing she'd ever made. I tried it that weekend and couldn't believe something so rich and creamy came together in one saucepan with just four ingredients. Now it's my go-to whenever I need a last-minute gift or a sweet fix that feels indulgent without the fuss.
The first time I made this for a bake sale, I cut the squares too big and they sold out before I could buy one back for myself. A neighbor told me she'd been thinking about it all week, and I realized this fudge has a way of sticking in people's memories. It's become my signature contribution to holiday cookie swaps, and I always double the batch because I know half will vanish before I even wrap it.
Ingredients
- Unsalted butter: This creates the creamy base and helps the peanut butter melt smoothly without any graininess—don't skip letting it fully melt.
- Creamy peanut butter: Use a commercial brand like Skippy or Jif, not the natural kind that separates, or your fudge won't set properly.
- Pure vanilla extract: A teaspoon is enough to add warmth without overpowering the peanut butter flavor.
- Confectioners sugar: Sifting it first prevents lumps and gives you that silky, professional texture every time.
Tired of Takeout? 🥡
Get 10 meals you can make faster than delivery arrives. Seriously.
One email. No spam. Unsubscribe anytime.
Instructions
- Prep the pan:
- Line your 8x8-inch pan with parchment paper, letting the edges hang over the sides like little handles. This makes lifting the fudge out later so much easier than trying to pry it loose.
- Melt the base:
- Combine butter and peanut butter in a medium saucepan over medium heat, stirring constantly until everything melts into a glossy pool. It should take about 3 to 4 minutes—don't rush it or walk away.
- Add the vanilla:
- Pull the pan off the heat and stir in the vanilla extract. The smell at this point is incredible and will make your kitchen feel like a dessert shop.
- Mix in the sugar:
- Add the sifted confectioners sugar gradually, stirring hard until the mixture thickens and turns smooth and velvety. Your arm will get a workout, but it's worth it.
- Pour and smooth:
- Scrape the fudge into your prepared pan and use a spatula to spread it evenly into the corners. The top doesn't have to be perfect—it'll taste amazing either way.
- Chill until firm:
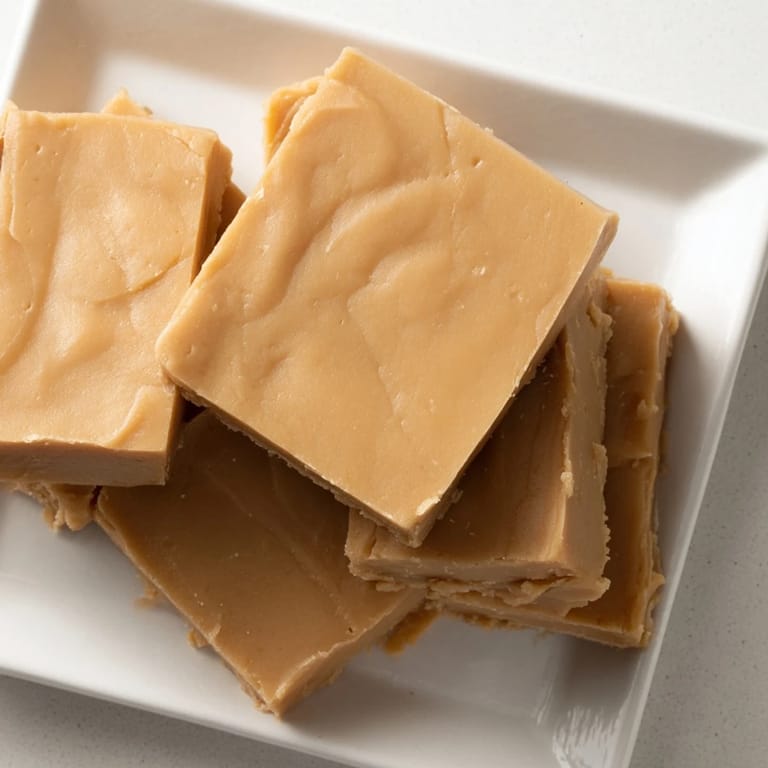
- Pop the pan in the fridge for at least an hour. When it's solid, lift it out using the parchment overhang and cut it into 36 neat squares with a sharp knife.
 Save
Save I once packed a dozen squares into a mason jar for a friend who'd just had a baby, and she texted me at midnight saying it was the only thing that felt like a hug that week. There's something about the way this fudge melts on your tongue that makes people pause and close their eyes for a second. It's not just candy—it's a little edible comfort you can share.
How to Store and Freeze
Keep your fudge in an airtight container in the fridge for up to a week, stacking squares between sheets of parchment so they don't stick together. If you want to stash some for later, wrap individual pieces in wax paper and freeze them in a freezer bag for up to two months—they thaw in minutes on the counter and taste just as good.
Ways to Make It Your Own
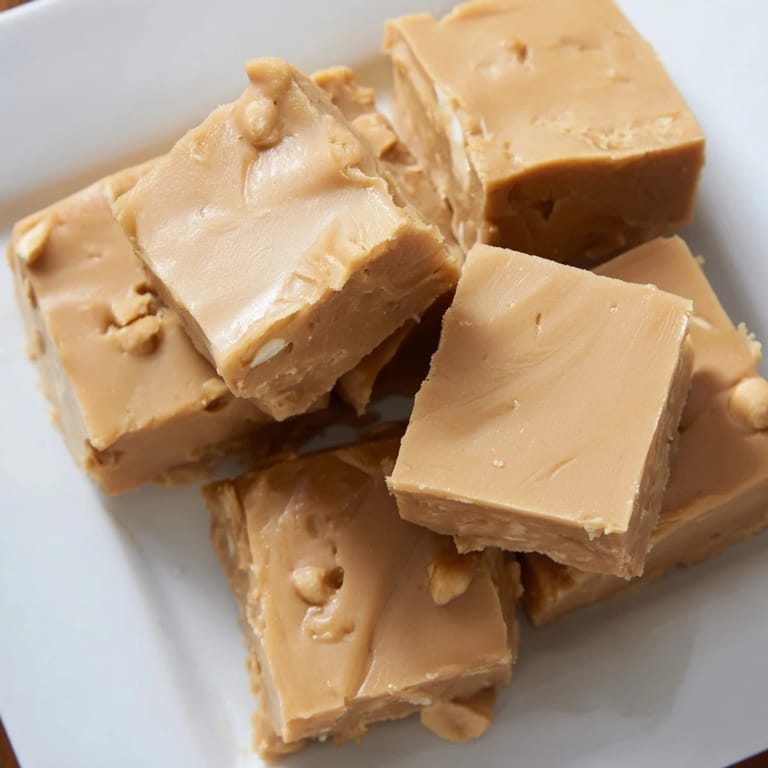
Fold in half a cup of roasted salted peanuts right before you pour the fudge into the pan for a satisfying crunch, or swirl in melted semi-sweet chocolate with a butter knife for marbled magic. I've also used almond butter in place of peanut butter when cooking for a friend with a peanut allergy, and it turned out just as rich and creamy with a slightly sweeter flavor.
What to Serve It With
This fudge is rich enough to stand alone, but I love pairing it with a strong cup of black coffee or a cold glass of milk to balance the sweetness. It also looks gorgeous on a dessert platter alongside brownies, cookies, or homemade truffles when you're hosting.
- Cut smaller pieces if you're serving it at a party—a little goes a long way.
- Let it sit at room temperature for 10 minutes before serving so the texture softens just slightly.
- Wrap squares in cellophane and tie them with ribbon for easy homemade gifts that always impress.
 Save
Save Every time I pull a batch of this fudge from the fridge, I remember how something so simple can feel like a small celebration. Whether you're making it for yourself or someone else, it's the kind of treat that turns an ordinary day into something a little sweeter.
Recipe FAQs
- → What ingredients give the fudge its creamy texture?
The creamy texture comes from combining unsalted butter and smooth peanut butter, which melt together before adding confectioners sugar.
- → How long should the mixture chill before serving?
Chill the mixture for at least one hour until it firms up, ensuring it holds nice square shapes when cut.
- → Can I add nuts for extra texture?
Yes, folding in roasted salted peanuts before chilling adds a delightful crunchy texture.
- → Are there flavor variations to try?
Swirling in melted semi-sweet chocolate before chilling creates a marbled chocolate-peanut butter treat, or try almond butter as an alternative base.
- → How should I store this confection to keep it fresh?
Store in an airtight container in the refrigerator for up to one week, or freeze for up to two months.