 Save
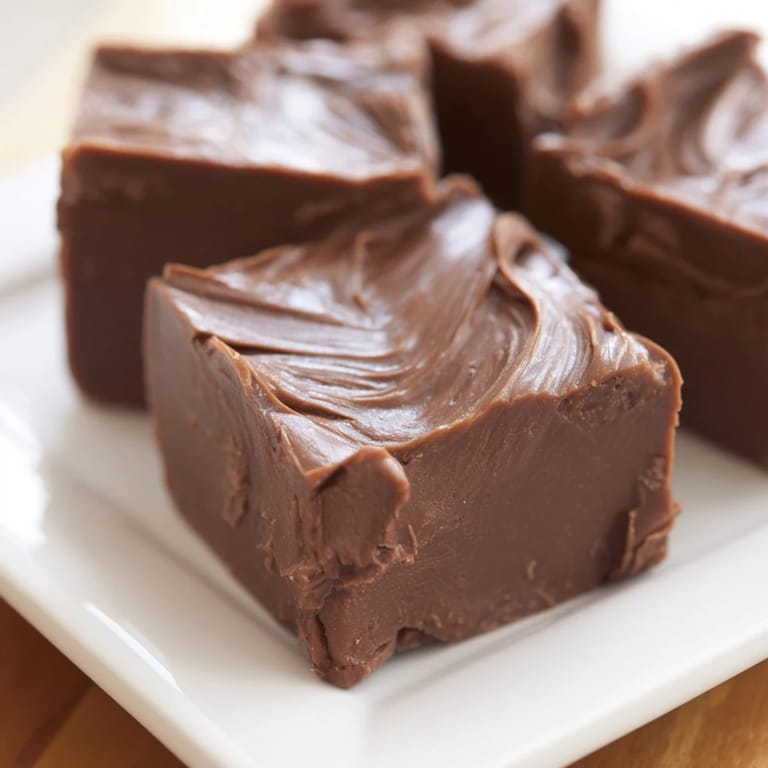
Save I learned to make fudge from my grandmother's kitchen, where the smell of melting chocolate mixed with butter would fill the house on quiet Sunday afternoons. She never used a recipe, just intuition and a candy thermometer she'd owned for decades, and somehow it always turned out perfectly. The first time I tried it alone, I forgot to stir constantly and ended up with grainy fudge—but that failure taught me more than any success could have. Now, when I make it, I feel like I'm keeping something alive, even if my version has a few modern tweaks.
I made this for my book club one winter, and someone actually gasped when they bit into it—that moment of genuine surprise from people who thought they knew what fudge was supposed to taste like made the whole two-hour wait worthwhile. The conversation shifted from books to memories of childhood candy, and suddenly everyone was sharing stories while munching on squares I'd wrapped in wax paper. It's funny how a simple homemade treat can become a conversation starter.
Ingredients
- Unsalted butter (1 cup): Use real butter, never margarine—it's the foundation of the creamy texture, and unsalted lets you control the salt level.
- Whole milk (2/3 cup): The fat in whole milk creates that silky mouthfeel; skim milk won't give you the same richness.
- Granulated sugar (3 cups): This is where the magic happens—it cooks down to form the structure of your fudge.
- Semi-sweet chocolate chips (2 cups): Quality matters here, but you don't need anything fancy; just avoid the cheap stuff that tastes waxy.
- Pure vanilla extract (1 tsp): Vanilla brightens the chocolate and keeps it from feeling one-note.
- Fine sea salt (1/4 tsp): This tiny amount amplifies the chocolate flavor in a way most people won't consciously notice but will definitely taste.
Tired of Takeout? 🥡
Get 10 meals you can make faster than delivery arrives. Seriously.
One email. No spam. Unsubscribe anytime.
Instructions
- Prep your pan like you mean it:
- Line your 8x8-inch pan with parchment paper, leaving enough overhang on two sides so you can lift the whole block out later. This prevents frustration and fudge loss.
- Start the mixture:
- Melt butter over medium heat in a heavy-bottomed saucepan, then add sugar and milk. Stir until everything is combined and the mixture looks uniform.
- Bring it to a boil:
- Keep stirring constantly once it starts bubbling—this prevents the sugar from crystallizing and keeps everything smooth.
- Hit the soft-ball stage:
- Clip your candy thermometer to the side of the pan and watch it like a hawk. You're aiming for 238°F, which usually takes 10–15 minutes. The mixture should look smooth and slightly glossy when you're close.
- The crucial moment:
- Pull the pan off heat the instant it hits temperature. Add chocolate, vanilla, and salt all at once, then stir vigorously for a full minute—this is where the fudge gets its thick, glossy texture.
- Get it into the pan:
- Work quickly but not frantically; pour the fudge into your prepared pan and smooth the top with a spatula. If it starts setting before you're done, you haven't lost it—just work faster next time.
- The hard part—waiting:
- Let it cool at room temperature for a full 2 hours. This isn't optional, and checking it every five minutes won't make it faster.
- Cut and serve:
- Once set, use the parchment overhang to lift it out, then cut into 36 squares with a sharp knife. Warm the knife under hot water between cuts for cleaner edges.
 Save
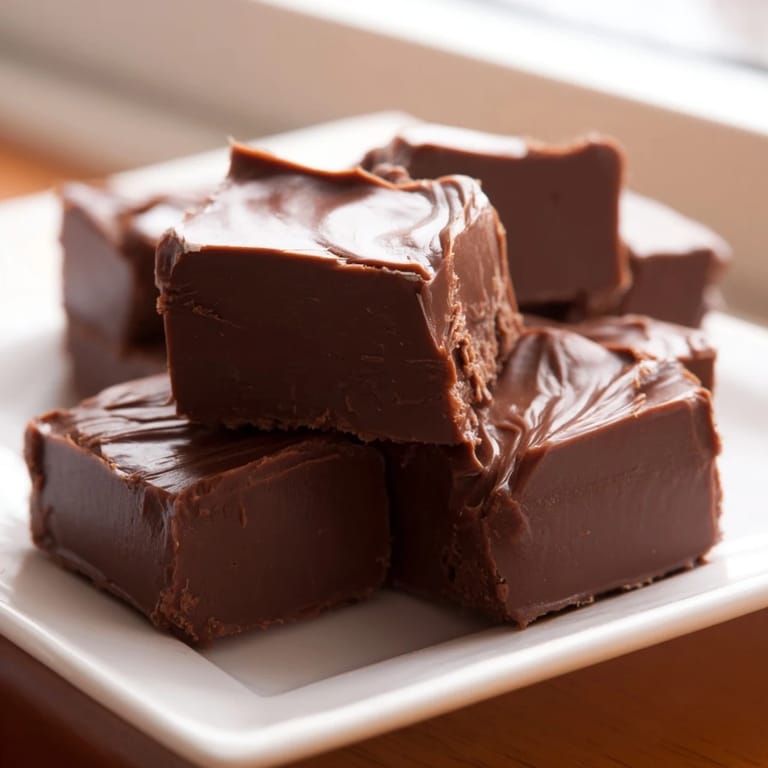
Save There's a small window of time, right after the fudge is poured, when you realize you've made something that tastes like pure indulgence but also like patience and intention—like you've captured something precious in that square pan. That's the feeling I'm chasing every time I make it.
Why Temperature Is Everything
The soft-ball stage isn't just some arbitrary cooking milestone—it's the exact point where sugar molecules have cooked enough to create a particular texture when cooled. Too early, and your fudge stays soft and gooey; too late, and it becomes hard and brittle. I learned this by overshooting the temperature once and ending up with something that could crack a tooth, then undershooting it and getting fudge that never set properly. Now I trust the thermometer completely.
Customizing Your Fudge
Once you understand the base recipe, you can start playing with it. I've added espresso powder for depth, swapped in dark chocolate for a less sweet version, and experimented with different extracts. The constant is always hitting that soft-ball stage—everything else is just flavor variation.
Storage and Variations
Keep fudge in an airtight container at room temperature, and it'll last about two weeks—though it rarely lasts that long in my house. Wrapped squares freeze beautifully for up to three months if you want to make it ahead. For gifting, wrap individual pieces in wax paper and stack them in small boxes; homemade fudge always feels more special when it's wrapped with care.
- If you want nuttier fudge, fold in a cup of chopped toasted walnuts or pecans right after you remove the mixture from heat.
- For a firmer set, refrigerate for an hour after the initial two-hour room-temperature cool—this is especially helpful on humid days.
- Dark chocolate fudge is richer and less sweet; milk chocolate is sweeter and more classic if you're making it for traditionalists.
 Save
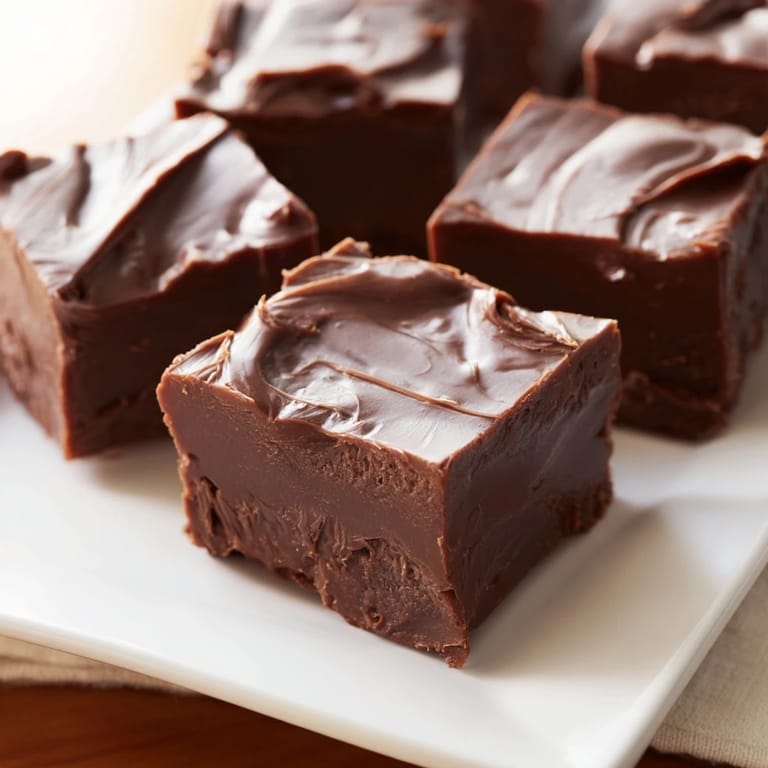
Save Making fudge is one of those small kitchen acts that feels like magic the first time and becomes meditative the second time. It's worth doing slowly and with intention.
Recipe FAQs
- → What is the soft-ball stage in cooking?
The soft-ball stage occurs when sugar syrup reaches about 238°F (114°C). At this point, a small amount dropped into cold water forms a soft, flexible ball, essential for achieving the right fudge texture.
- → Can I use different types of chocolate chips?
Yes, you can substitute semi-sweet chocolate with milk or dark chocolate to vary the flavor and sweetness levels.
- → How do I ensure a smooth, creamy texture?
Cooking to the precise soft-ball stage and stirring thoroughly after adding chocolate and vanilla helps achieve a glossy, smooth consistency.
- → What tools are best for preparing this dish?
A heavy-bottomed saucepan ensures even heat distribution, while a candy thermometer helps monitor temperature accurately. Parchment paper prevents sticking during cooling.
- → Can nuts be added for extra texture?
Yes, fold in chopped toasted walnuts or pecans before pouring the mixture into the pan for a crunchy variation.