 Save
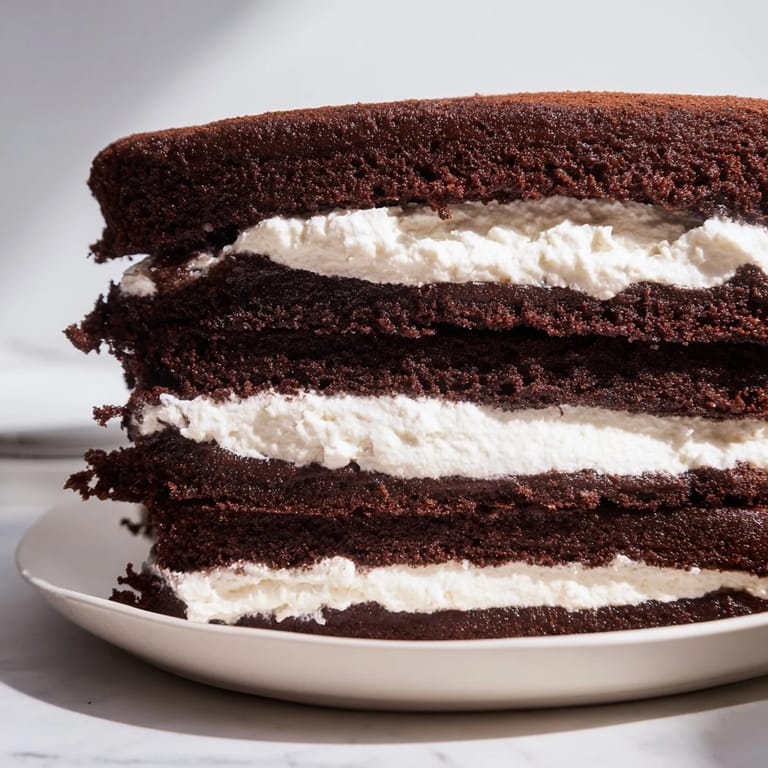
Save My grandmother kept a tin of whoopie pies on her kitchen counter year-round, and I spent countless afternoons watching her sandwich those chocolate cakes together with pillowy cream filling. There was something magical about how the marshmallow-butter mixture would cloud up when she beat it, transforming into this fluffy cloud that made the whole kitchen smell like vanilla and chocolate simultaneously. She'd let me press the top cake down gently, and I'd always worry I'd squeeze out all the filling, but she'd just laugh and say there's no such thing as too much cream in a whoopie pie. Now when I make them, that same nervous excitement rushes back.
I made these for my daughter's school bake sale and watched her face light up when a classmate asked for a second one—that moment taught me that homemade always wins over perfect. The box sold out in twenty minutes, and three parents asked for the recipe, which made me feel like I'd uncovered a family secret worth sharing.
Ingredients
- All-purpose flour: The base that gives your cakes structure without being heavy; sifting isn't absolutely necessary, but it does make them slightly more tender.
- Unsweetened cocoa powder: This is where the chocolate soul lives, and using good quality makes a noticeable difference in depth.
- Baking soda and baking powder: These work together to give the cakes their signature spring and lift, creating that pillowy crumb.
- Granulated sugar and softened butter: Creaming these together is where the magic starts, creating an airy base that lightens everything.
- Vegetable oil: This keeps the cakes moist longer than butter alone could manage, a trick I learned after a few batches turned out too dense.
- Buttermilk: The tanginess balances the chocolate and prevents the cakes from tasting too sweet or one-dimensional.
- Marshmallow creme: The secret weapon that makes the filling taste nostalgic and cloud-like rather than stiff and dense.
- Powdered sugar: Sifting this prevents lumps and ensures your filling is silky smooth, not grainy.
Tired of Takeout? 🥡
Get 10 meals you can make faster than delivery arrives. Seriously.
One email. No spam. Unsubscribe anytime.
Instructions
- Heat your oven and prep your space:
- Set the oven to 350°F and line two baking sheets with parchment paper—this simple step saves you from sticking disasters and makes cleanup blissful.
- Mix your dry ingredients:
- Whisk together flour, cocoa powder, baking soda, baking powder, and salt in a medium bowl, making sure the leavening agents are evenly distributed so your cakes rise evenly.
- Cream your butter and sugar:
- Beat sugar, softened butter, and oil together until the mixture looks pale and fluffy, about 2–3 minutes—this is where you're incorporating air that makes the cakes tender.
- Add eggs and vanilla:
- Drop in eggs one at a time, beating well after each addition, then mix in vanilla extract so the batter is rich and fragrant.
- Alternate wet and dry mixtures:
- Add flour mixture and buttermilk in alternating portions, starting and ending with flour, stirring just until combined—overmixing here makes tough cakes, so stop as soon as you don't see streaks.
- Shape and bake your cakes:
- Drop 2-tablespoon mounds of batter onto your prepared sheets with about 2 inches between each, then bake for 10–12 minutes until the tops spring back when you touch them lightly.
- Cool with patience:
- Let the cakes sit on the baking sheet for 5 minutes to firm up, then transfer to a cooling rack—this brief rest prevents them from breaking apart.
- Make the marshmallow filling:
- Beat softened butter until smooth, gradually add sifted powdered sugar, then fold in marshmallow creme, vanilla, and salt, beating until fluffy and cloud-like.
- Assemble your pies:
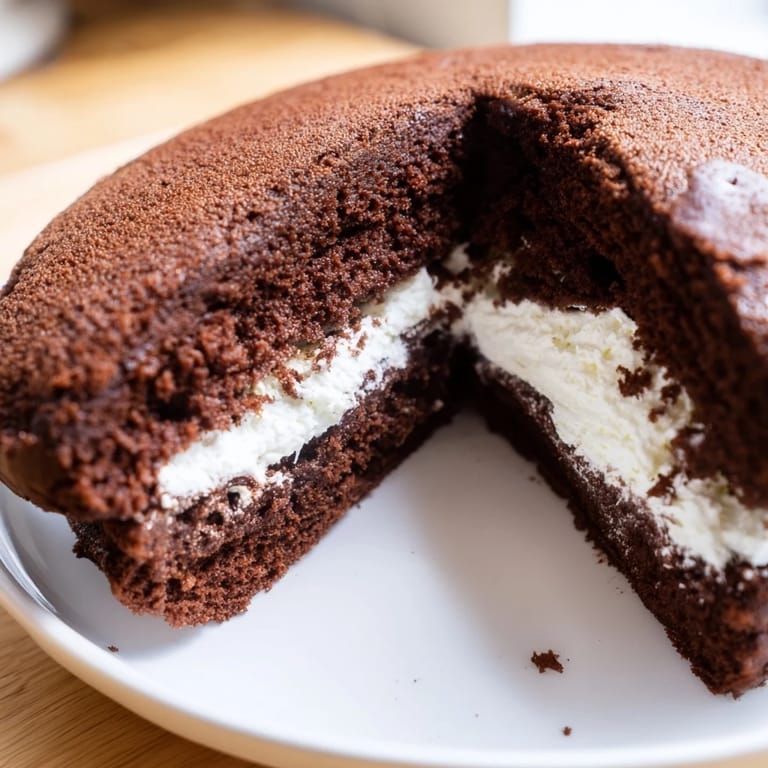
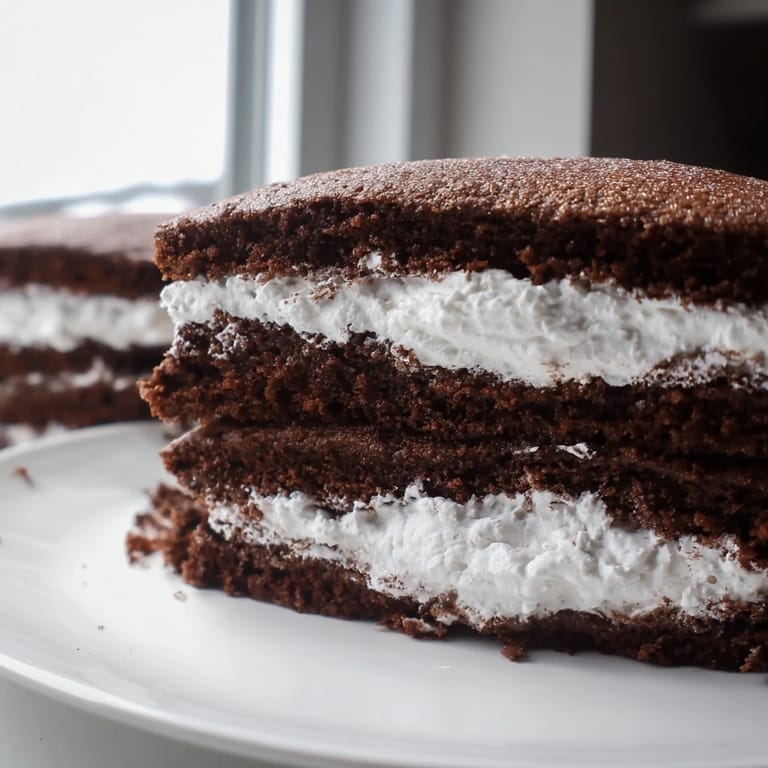
- Spread or pipe filling onto the flat side of half your cooled cakes, then press the remaining cakes on top to create sandwiches with a generous filling layer.
- Chill before serving:
- Pop them in the refrigerator for 30 minutes so the filling sets and the texture becomes perfectly balanced.
 Save
Save There's a particular joy in biting through that soft chocolate cake and finding the fluffy vanilla surprise inside, the kind of simple pleasure that reminds you why you love baking in the first place. For me, whoopie pies have become the dessert I reach for when I want to feel competent and generous at the same time.
The Secret to Soft Cakes
The combination of butter and oil is not random—it's the reason these cakes stay moist for days and don't turn into hockey pucks by day two. Oil adds moisture that butter alone can't provide, while butter gives you that rich chocolate flavor you crave. I learned this after making too many batches with butter only, watching them dry out by afternoon.
When to Use Shortening in the Filling
My grandmother swore by shortening in the filling, especially if you're making these ahead and storing them in the fridge, because butter-based fillings can get oily over time while shortening stays stable and fluffy. If you're serving them fresh, butter creates a richer, more luxurious taste that feels fancy without trying. I've switched between them depending on the occasion, and honestly, there's no wrong answer here—just different moods.
Flavor Variations That Actually Work
Once you nail the basic recipe, you can play around in ways that feel natural rather than gimmicky. A touch of espresso powder in the batter deepens the chocolate without making it taste like coffee, and almond extract in the filling instead of vanilla gives everything a subtle elegance. Some people add a pinch of cinnamon to the filling for warmth, and I've even experimented with adding cream cheese to make it tangier—all of these shifts feel like gentle improvements rather than total reinventions.
- Espresso powder in the cake batter brings out the chocolate's richness without obvious coffee flavor.
- Storing them in an airtight container at room temperature keeps them fresh for three days, but they're actually best within the first 24 hours.
- You can make the cakes and filling a day ahead, then assemble them fresh for the fluffiest texture possible.
 Save
Save Making whoopie pies connects you to generations of home bakers who knew that the best treats are the ones made with a little extra care and a sense of occasion. They're humble enough for a Tuesday afternoon but special enough to make someone's day better.
Recipe FAQs
- → What gives the cakes their soft texture?
The buttermilk combined with vegetable oil and creamed butter ensures a moist and tender crumb in the chocolate cakes.
- → How is the creamy filling made?
Butter is beaten smooth, then powdered sugar and marshmallow creme are gradually added along with vanilla and a pinch of salt to create a fluffy vanilla cream.
- → Can I enhance the chocolate flavor?
Adding a bit of espresso powder to the cake batter intensifies the chocolate notes without overpowering the overall taste.
- → What is the best way to assemble these sandwiches?
Spread or pipe the cream filling onto the flat side of half the cooled cakes, then top with the remaining cakes to form neat sandwiches.
- → How should these treats be stored?
Store in an airtight container at room temperature for up to three days to maintain freshness and texture.