 Save
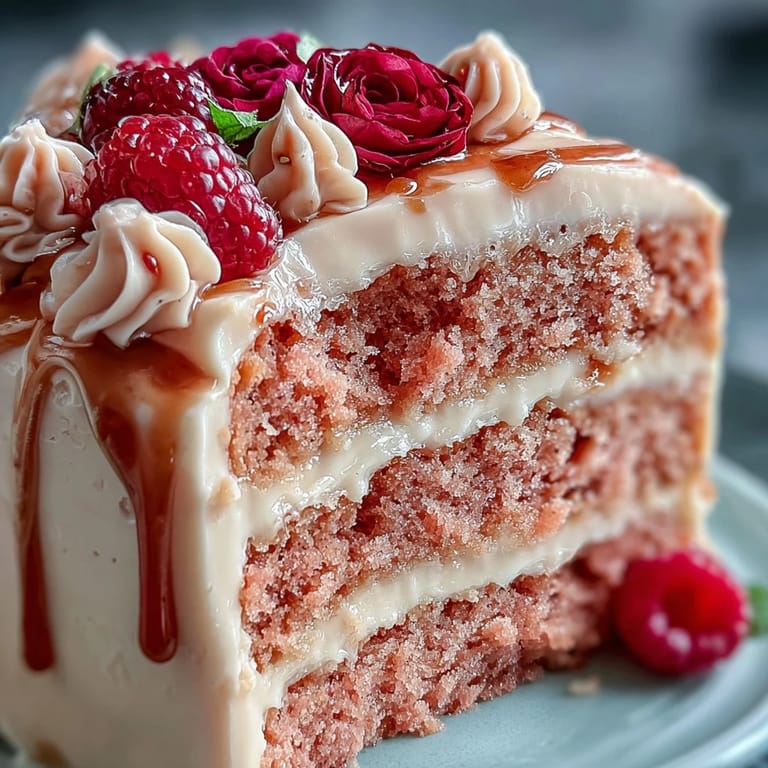
Save The heady aroma of butter and vanilla mixed with that unmistakable fragrance of rosé filled my tiny apartment the first time I tried this blush-pink cake. I wasn't preparing for a grand event—just curious if a splash of leftover wine could truly transform a simple velvet sponge. With each swirl of frosting, I watched my kitchen morph into a little atelier, the golden drip catching the afternoon light and making the plainest counter feel like a celebration. It surprised me how something so elegant could be born out of an ordinary Saturday and a streak of experimental mood. That turned out to be the beginning of my love for cakes that double as edible jewelry boxes.
The first time I baked this for a bridal shower, a thunderstorm rolled in just as I was mixing the batter. We laughed at the rain, sipping the leftover wine and sneaking tastes of frosting, and the final cake seemed to glimmer even brighter against the gray sky. Sharing each slice while we waited for the sun to return made the kitchen feel like a tiny celebration hall.
Ingredients
- All-purpose flour: This is the foundation for the cake's tender crumb. I always aerate my flour with a quick fluff and sift when I remember.
- Granulated sugar: Not only sweetens, but helps create that soft velvet texture. I like using superfine sugar if I have it on hand.
- Baking soda & baking powder: The duo that gives gentle lift, ensuring the cake is never dense. Double check that yours are fresh.
- Salt: Just enough to balance out the sweetness and highlight the rosé and chocolate.
- Unsweetened cocoa powder: Only a hint is needed to add depth and that signature 'velvet' character.
- Unsalted butter: Room temperature butter creams beautifully and creates a rich crumb.
- Buttermilk: For tang and tenderness—take it out early so it's not cold when you mix it in.
- Rosé wine: Adds a gentle, floral fruitiness and a signature pink hue. Use something you'd like to sip.
- Eggs: Room temperature for even mixing.
- Vanilla extract: Enhances that classic cake aroma and rounds out the flavors.
- White vinegar: Works its magic to keep the crumb fine and soft.
- Pink food coloring gel: Go slow—it's more potent than you think!
- Cream cheese: Essential for the creamy, tangy frosting. Soften it for a perfectly smooth finish.
- Powdered sugar: Sift to avoid any frosting lumps.
- Heavy cream: Goes into the ganache for that dreamy drip.
- White chocolate chips: Melts easily for the drip and pairs perfectly with rosé.
- Edible gold luster dust & vodka (or clear extract): Transforms a good cake into a breathtaking one, with just a few delicate brushstrokes.
Tired of Takeout? 🥡
Get 10 meals you can make faster than delivery arrives. Seriously.
One email. No spam. Unsubscribe anytime.
Instructions
- Prep the pans and oven:
- Set your oven to 350°F (175°C) and line three 8-inch pans with parchment—greasing every corner creates a smooth release later.
- Sift the dry ingredients:
- Combine flour, cocoa, baking soda, baking powder, and salt in a bowl. The airiness will be worth that brief cloud of powder in the air.
- Cream butter and sugar:
- Mix until light and fluffy and watch the color go pale—tiny sugar crystals aerate and give you a delicate crumb.
- Add eggs and vanilla:
- Slip eggs in one by one, then pour in vanilla. Count to ten as you mix after each for an even batter.
- Mix in liquids:
- Stir in buttermilk, rosé, and vinegar. The batter may look a touch curdled but it’ll smooth when you add the flour blend.
- Fold in color:
- Add pink coloring gel gradually, pausing to marvel at the blush tones. Stop once it's charmingly rosy.
- Divide and bake:
- Scoop batter evenly into pans and give each a tap on the counter. Bake about 30–35 minutes, until a toothpick comes out nearly clean.
- Cool the cakes:
- Let cakes sit in pans ten minutes, then invert onto racks to cool completely—patience pays with a neater assembly.
- Whip up frosting:
- Cream butter and cream cheese until billowy, then gradually add powdered sugar. A final stream of rosé infuses the whole mix with aroma.
- Assemble and frost:
- If the layers dome, slice them level. Stack with frosting in between, then coat the sides generously for that classic cake shop look.
- Crumb coat and chill:
- Apply a thin layer of frosting, chill for 30 minutes, then finish with a thick, dreamy coating.
- Make the gold drip:
- Gently melt white chocolate and cream in the microwave, stirring smooth. Cool until thick enough to drip artfully along edges.
- Paint with gold:
- Mix a little luster dust with vodka or clear extract and, using a soft brush, add shimmer to each drip. This is your gilded touch—take your time!
- Final chill:
- Refrigerate for at least 30 minutes so everything sets perfectly before serving.
 Save
Save 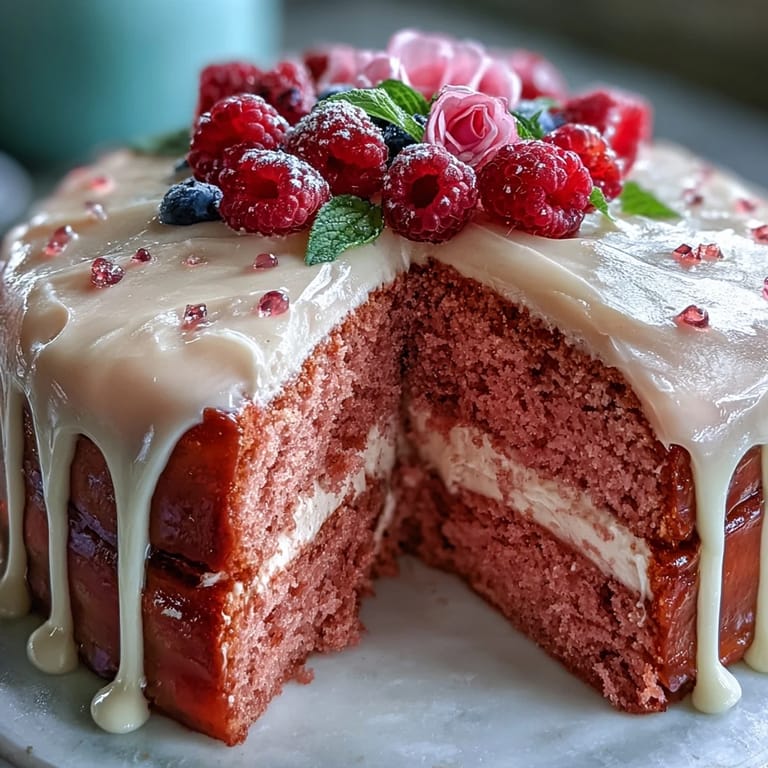 Save
Save At my cousin's celebration, I watched as the cake was carried through a room of shimmering dresses and wide smiles, and realized it wasn’t just a dessert—it was a crown jewel for a moment we’d remember. The forkfuls sparked conversation, questions, and a few little bursts of laughter over golden lips.
How to Make The Gold Drip Shine
Your gold drip will really glow if the chocolate sets matte white before you paint. I learned that patience with drying time gives the shiniest finish, so don't rush straight in with the brush or the luster dust will smudge and fade.
Tips for Stress-Free Layering
If you trim your cake layers with a serrated knife and layer parchment between, assembling is worlds easier. Sliding the offset spatula under each round feels less precarious and your edges stay neat, even when everyone's watching in anticipation.
Decorating for That Wow Factor
Edible flowers and a scattering of gold leaf can turn the simplest cake into a centerpiece. Even a few fresh berries tumbling over the top give a lively, celebratory vibe. Remember, perfection isn't the point—it's all about play and generosity in the gesture.
- Keep a damp towel handy for sticky fingers.
- If you run out of gold, colored sprinkles in a single tone can look just as luxe.
- Give your cake time to come to room temperature before serving for best flavor and texture.
 Save
Save  Save
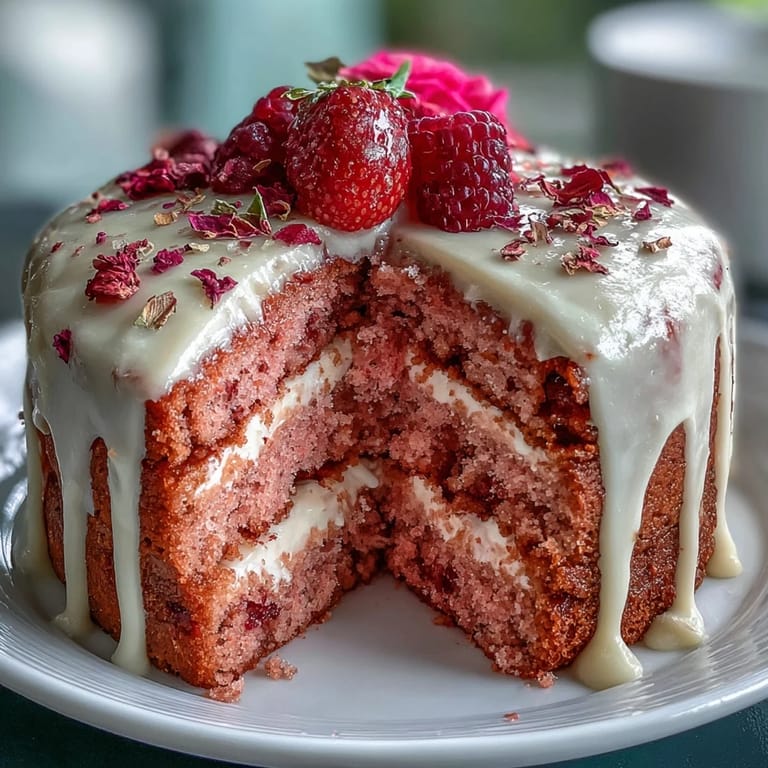
Save I hope this rosé velvet cake adds a bright, golden spark to your next celebration—or turns an ordinary day into something truly memorable. There’s just something magical about slicing into a cake that glimmers with anticipation and care.
Recipe FAQs
- → How can I boost the rosé flavor without making the batter too wet?
Brush cooled layers lightly with reserved rosé wine rather than adding more to the batter; this adds aroma and flavor without thinning the crumb. For a nonalcoholic option, use a splash of sparkling grape juice or a diluted grape concentrate.
- → What’s the best way to get an even blush-pink color?
Use concentrated gel coloring and add it a little at a time while mixing until you reach the desired shade. Gel gives vibrant color with minimal liquid, preserving batter consistency and bake results.
- → How do I achieve a smooth, stable cream cheese frosting?
Start with room-temperature butter and cream cheese, beat until completely smooth, then add sifted powdered sugar gradually. Chill briefly for a firmer texture if you need clean layer spreads or sharp edges.
- → How do I make the white-chocolate gold drip shine without it running?
Melt white chocolate with heavy cream and cool it to a pourable but not hot temperature to control drips. Apply drip to a chilled, well-frosted cake and allow it to set before painting with edible gold luster mixed sparingly with vodka or a clear food-safe extract.
- → Any tips to prevent a soggy crumb when adding extra rosé?
Brush sparingly and allow each pass to absorb before adding more. Alternatively, soak a pastry brush and dab rather than pour; this gives flavor without oversaturating the crumb.
- → How should the cake be stored and served for best texture?
Refrigerate covered to keep the cream cheese frosting firm; remove the cake 30–60 minutes before serving to allow flavors and texture to soften. Keep slices chilled if serving on warm days.