 Save
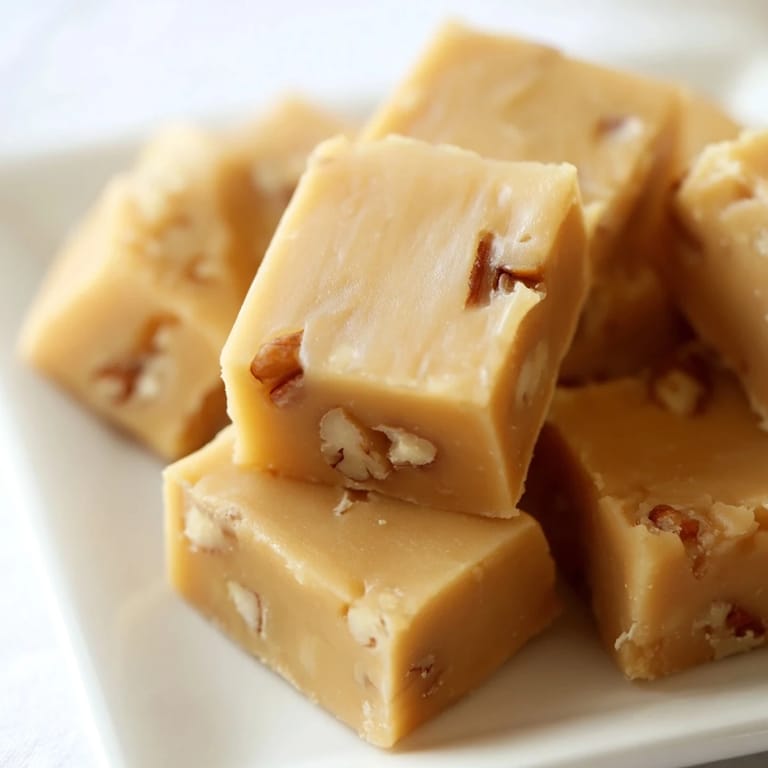
Save My grandmother kept a worn recipe card tucked beside her stove, and penuche fudge was written in her careful handwriting—not because it was fancy, but because it was the one thing she made every December that made people slow down and actually savor a single piece. The first time I tried making it myself, I burned the edges while watching the thermometer obsessively, but that mistake taught me something valuable: this candy demands patience and trust, not frantic attention. There's something almost meditative about watching brown sugar and butter melt together, knowing that in just a few minutes and the right temperature, you'll have something that tastes like caramel and butter had a baby.
Years ago, I brought a box of these to a potluck where I barely knew anyone, nervous and awkward in that new-friend way. By the end of the evening, people were asking for the recipe, and suddenly I had a thing—the fudge person—and it made me feel less invisible. Now when I make it, I think about that moment and how something small and sweet can actually change how people see you.
Ingredients
- Light brown sugar (2 cups, packed): This is the soul of penuche—it brings that deep molasses note that makes regular fudge jealous, so don't even think about substituting white sugar for all of it.
- Granulated sugar (1 cup): You need this to help you hit the right temperature and texture, not just for sweetness.
- Whole milk (3/4 cup): It keeps the fudge creamy and smooth instead of dense and heavy, so don't skimp on the full-fat version.
- Unsalted butter (1/2 cup, cubed): Cutting it into pieces helps it melt evenly, and unsalted lets the brown sugar be the star.
- Fine sea salt (1/4 teaspoon): Just a tiny pinch that makes you say "what is that?" before you realize it's making everything taste deeper and richer.
- Pure vanilla extract (1 1/2 teaspoons): Vanilla isn't just background here—it's the final note that makes people go quiet after their first bite.
- Pecans or walnuts (1 cup, chopped, optional): They add a slight bitterness that plays beautifully against the sweet, so even if you're not usually a nut person, consider trying them.
Tired of Takeout? 🥡
Get 10 meals you can make faster than delivery arrives. Seriously.
One email. No spam. Unsubscribe anytime.
Instructions
- Prepare Your Pan:
- Line an 8-inch square pan with parchment paper so it overhangs the edges—this is how you'll lift your finished fudge out without a mess. Lightly butter the paper so nothing sticks when it matters most.
- Combine and Dissolve:
- In a heavy-bottomed saucepan, combine both sugars, milk, butter, and salt over medium heat, stirring gently until everything dissolves and the mixture comes to a boil. You'll see the butter melt first, then watch the sugars disappear into the liquid like they were never there.
- Monitor the Temperature:
- Clip a candy thermometer to the pan and stop stirring—this is the hardest part, doing nothing while watching closely. Let it bubble away until it reaches 238°F (soft-ball stage), about 10 to 12 minutes, and you'll feel like you're performing some kind of kitchen magic.
- Cool and Wait:
- Pull it off the heat and let it sit untouched for exactly 10 minutes while it cools slightly, which is when the real transformation begins. This step is where patience rewarded me the first time I understood why recipes have rules.
- Beat Until It Transforms:
- Stir in the vanilla, then beat the mixture with a wooden spoon or electric mixer on low speed for 5 to 8 minutes until it thickens, loses its glossy shine, and starts to hold its shape. You'll feel it change under the spoon—first it's loose and glossy, then it gets grainy and thick, and that's exactly when you stop.
- Add Nuts and Pour:
- Fold in the chopped nuts if you're using them, then immediately pour the fudge into your prepared pan and smooth the top. Speed matters here because once it starts setting, it becomes too thick to work with.
- Set and Cut:
- Let it sit at room temperature for at least an hour until it's completely firm, then use the parchment overhang to lift the whole block out and cut it into 1-inch squares with a sharp knife. A clean knife dipped in hot water between cuts keeps the edges neat.
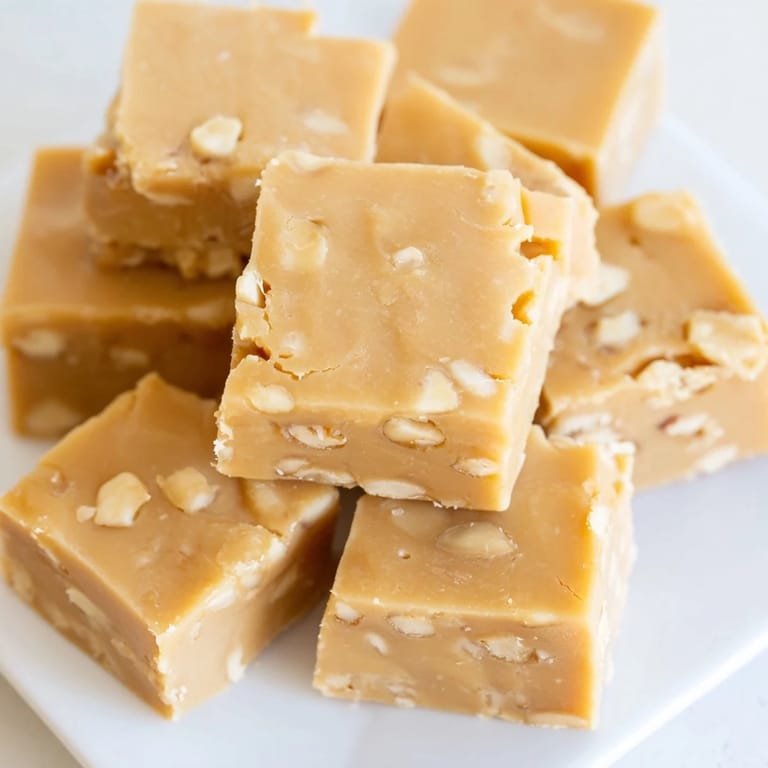 Save
Save I gave my neighbor a box of this once when her son was sick, and she told me later that he ate exactly one piece at a time and asked for it every afternoon for a week. She said watching him slow down and actually taste something—not just consume it—was the best gift I could have given her. That's when I realized penuche fudge is one of those rare things that makes people be present.
The Science of Soft-Ball Stage
That candy thermometer reading of 238°F isn't arbitrary—it's the temperature at which the sugar syrup reaches soft-ball stage, meaning it will form a soft, flexible ball when cooled in water but still dissolve on your tongue. If you've ever wondered why some fudge is grainy and some is smooth, this temperature is the answer. Going too high toward hard-ball stage (250°F) changes the whole structure and makes it brittle instead of creamy, while not getting there leaves you with something that never sets properly. I spent one afternoon testing batches at different temperatures just to understand this myself, and it completely changed how I think about candy making.
Beating and the Transformation
The beating stage is where the magic actually happens, and it's the part that feels like it's not working until suddenly it completely is. When you start beating that hot mixture, it looks glossy and pourable, almost like you've made a mistake. But as you keep going, crystals start to form—you'll see the color lighten slightly and feel the resistance build under your spoon—and that's when you know it's working. Some people use an electric mixer and some swear by hand beating with a wooden spoon, and honestly, I've had perfect results both ways. The key is stopping right when it holds its shape but before it becomes so thick you can't pour it, which usually takes about 5 to 8 minutes depending on how vigorously you're beating.
Variations and Flavor Experiments
Once you understand the basic method, this recipe becomes a canvas for your own discoveries. I've made it with a pinch of cinnamon, which adds a subtle warmth that no one can quite identify but everyone loves, and another time I added a quarter teaspoon of maple extract that made it taste like autumn in candy form. You can play with different nuts—hazelnuts give it a sophisticated edge, and pistachios look beautiful and taste unexpected. The brown sugar is what defines penuche, but if you wanted to experiment further, I've heard of people adding a tablespoon of coffee to enhance the caramel notes or even a tiny bit of bourbon, though I haven't tested that one myself.
- Start with just vanilla if you're new to this, then get adventurous once you've made it a few times and know how it behaves.
- Keep flavor additions subtle—this candy doesn't need competing flavors, just one or two that whisper instead of shout.
- Always add any extra flavoring at the same time as the vanilla so everything incorporates evenly.
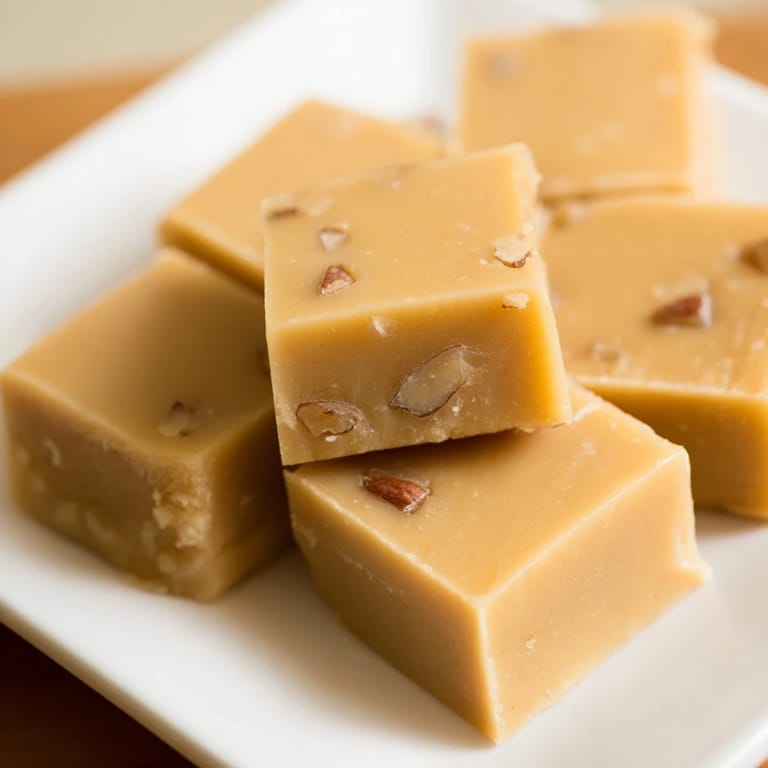 Save
Save Making penuche fudge is one of those rare kitchen acts that feels both comforting and special at the same time, like you're doing something your grandmother did while also creating your own memory. There's something about that smell—brown sugar, butter, vanilla—that makes a kitchen feel like home.
Recipe FAQs
- → What differentiates penuche from other sweet confections?
Penuche uses brown sugar which gives it a distinct caramel flavor and a creamy texture, distinguishing it from standard confections that rely on white sugar.
- → How do I know when the mixture reaches the right consistency?
Cooking the mixture to the soft-ball stage at 238°F (114°C) ensures proper setting and a smooth texture when cooled and beaten.
- → Can nuts be omitted or substituted?
Yes, nuts are optional. You can omit them or substitute with your preferred nuts or seeds for varied texture and flavor.
- → What is the best way to store the finished squares?
Store in an airtight container at room temperature for up to one week to maintain freshness and texture.
- → Are there flavor variations to enhance this confection?
Adding a pinch of cinnamon or a dash of maple extract can provide an extra layer of warmth and complexity.